Once again, the long, relaxing days in the sunshine is approaching an end. The busy days of school life is doggedly following close behind what is the last wisp of the freedom gained during the summer holidays. Perhaps you are starting a new school; perhaps you are returning to the same old. Whichever it is, the carefree spirit of the two enjoyable – or maybe monotonous – months will soon be missed. Before you take a step forward, it is always nice to document the unforgettable experiences of travel or hanging out with friends; or maybe you haven’t done anything exciting during the summer like myself… now’s the time! Make your own little book of memories, make a nice clothbound notebook, or even surprise someone with a gift!

Materials you need
- card stock paper
- scrapbooking paper
- fabric
- (optional) button and sewing suppies
- (optional) string / ribbon
- cutting instrument (scissors / X-acto knife)
- adhesive (glue stick / double-sided tape / double-sided foam tape)
Instructions The Pages
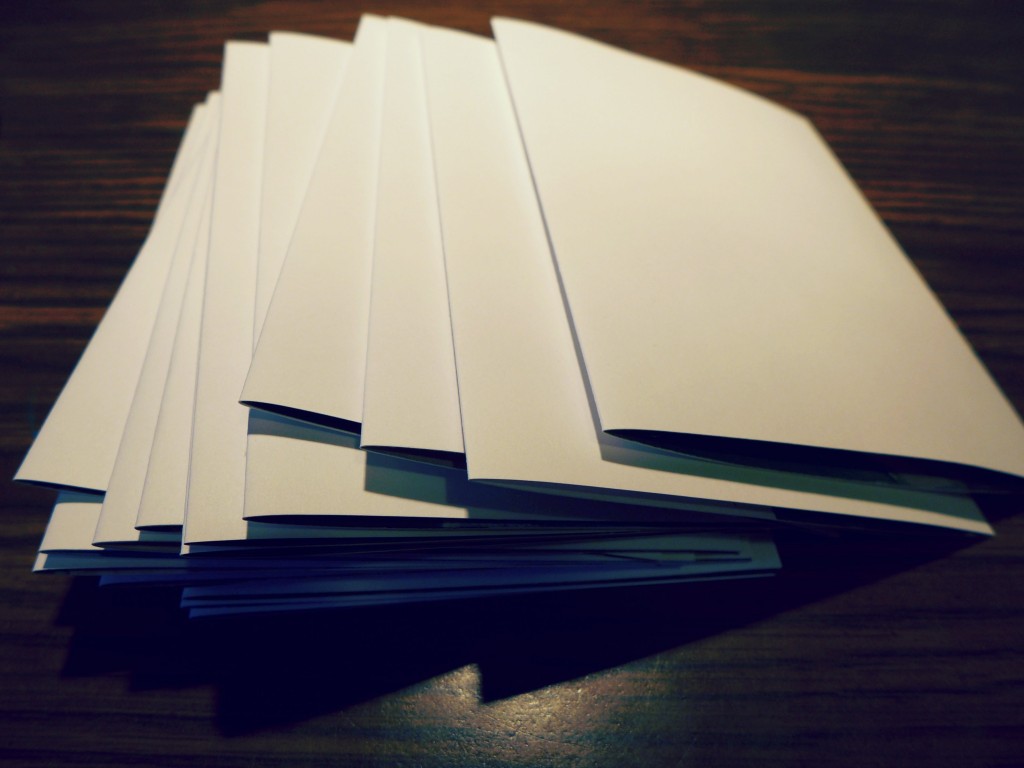
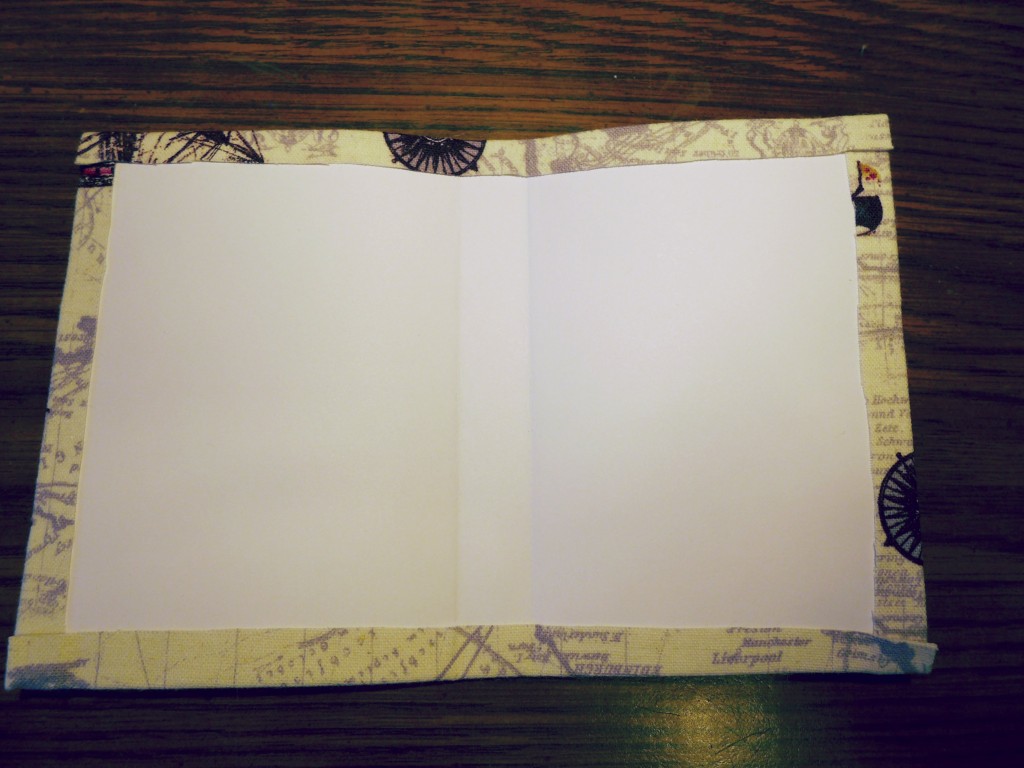
1. Cut the card stock paper into the desired size of your page spread (that is, twice the size of your book). The easiest way with the least hassle is to cut letter-sized pages in half.
2. Fold the card stock paper in half.
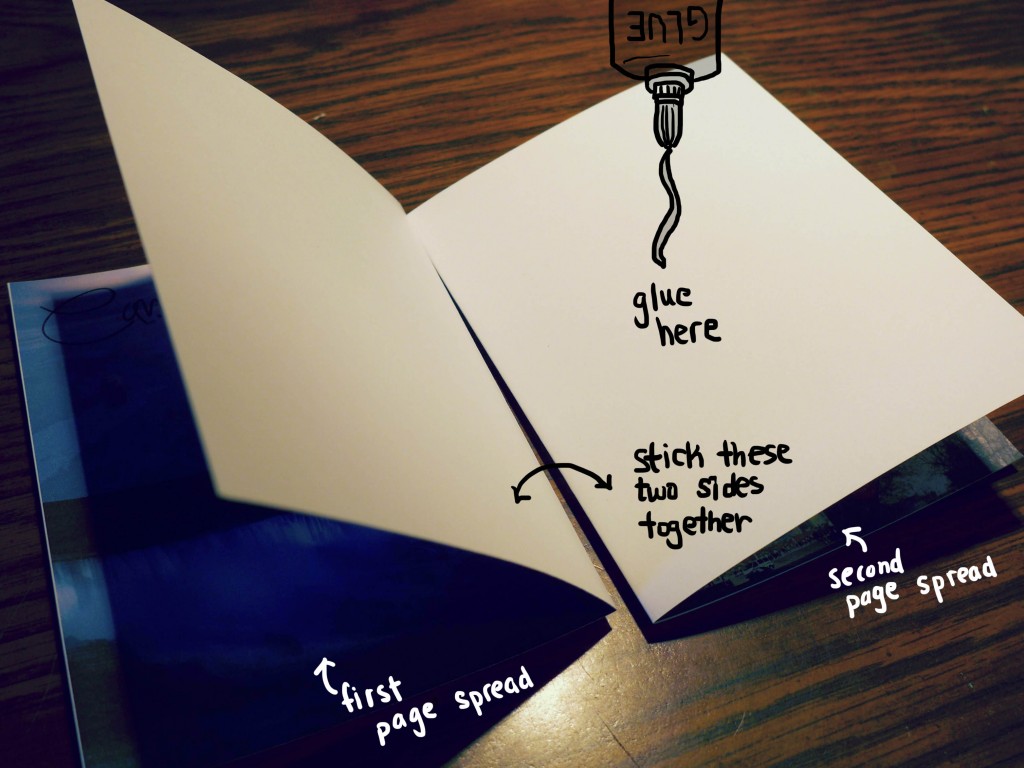
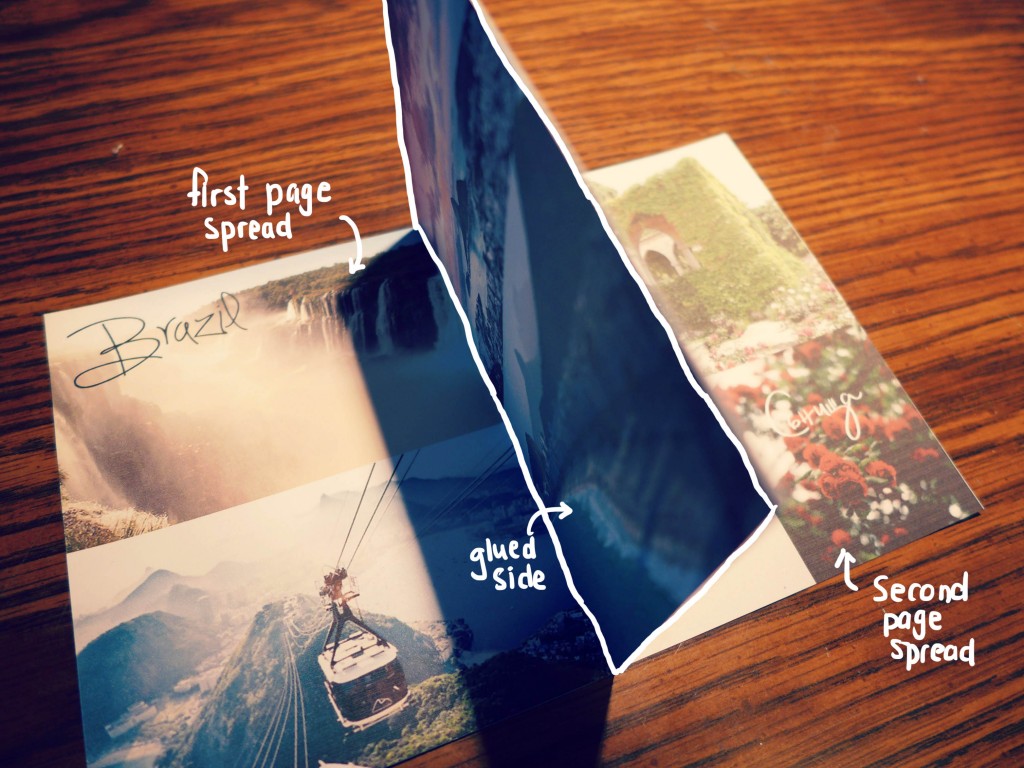
3. Glue the pages together.
The Cover
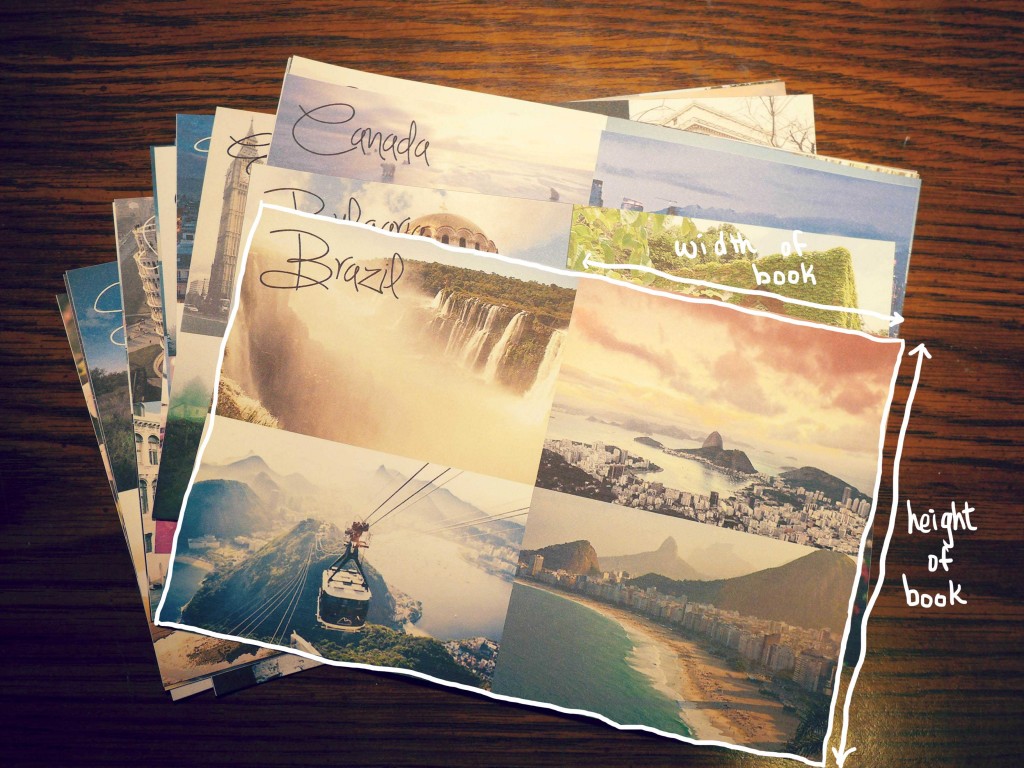
1. Measure the thickness of the glued pages.
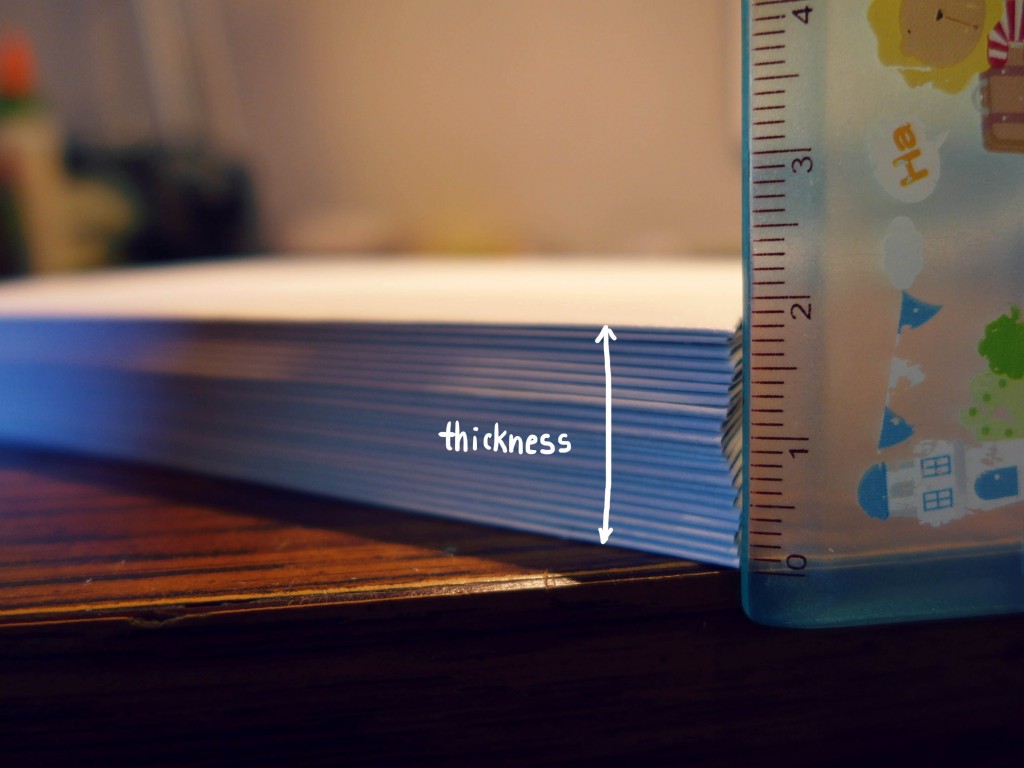
2. Cut a piece of card stock with a height just a little longer than the pages and a length just a little longer than the length of the page spreads plus the thickness of the pages.
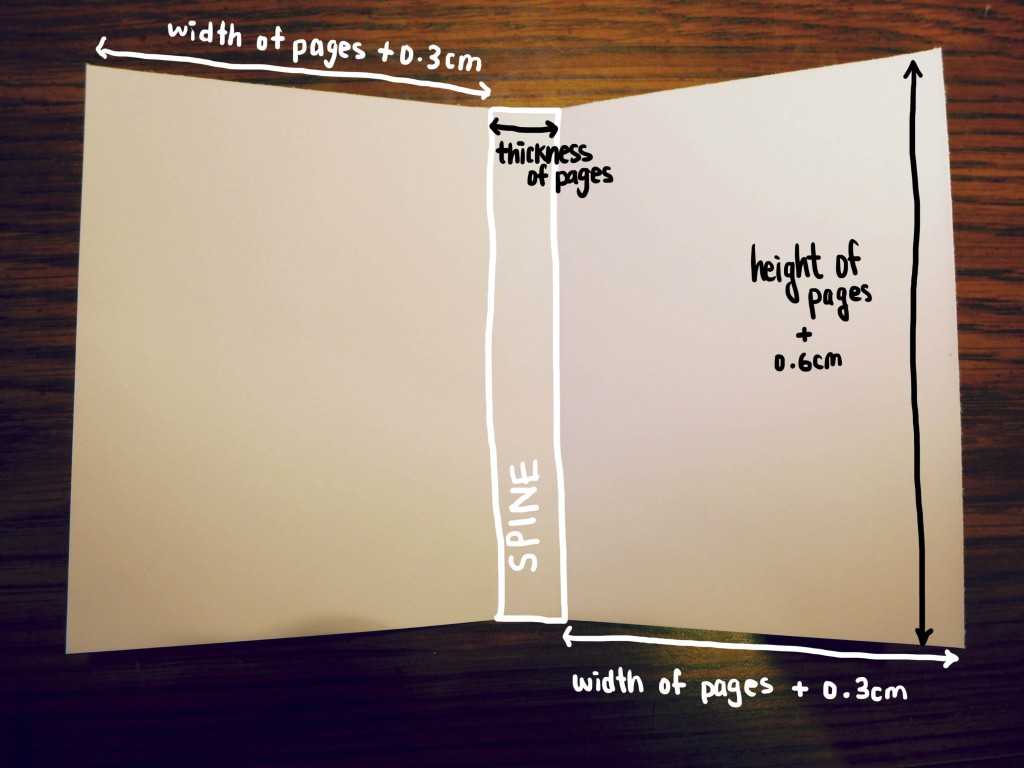
3. Fold the card stock as shown in the diagram above. The thickness of the glued pages will be centred on the cover card stock paper as a result.
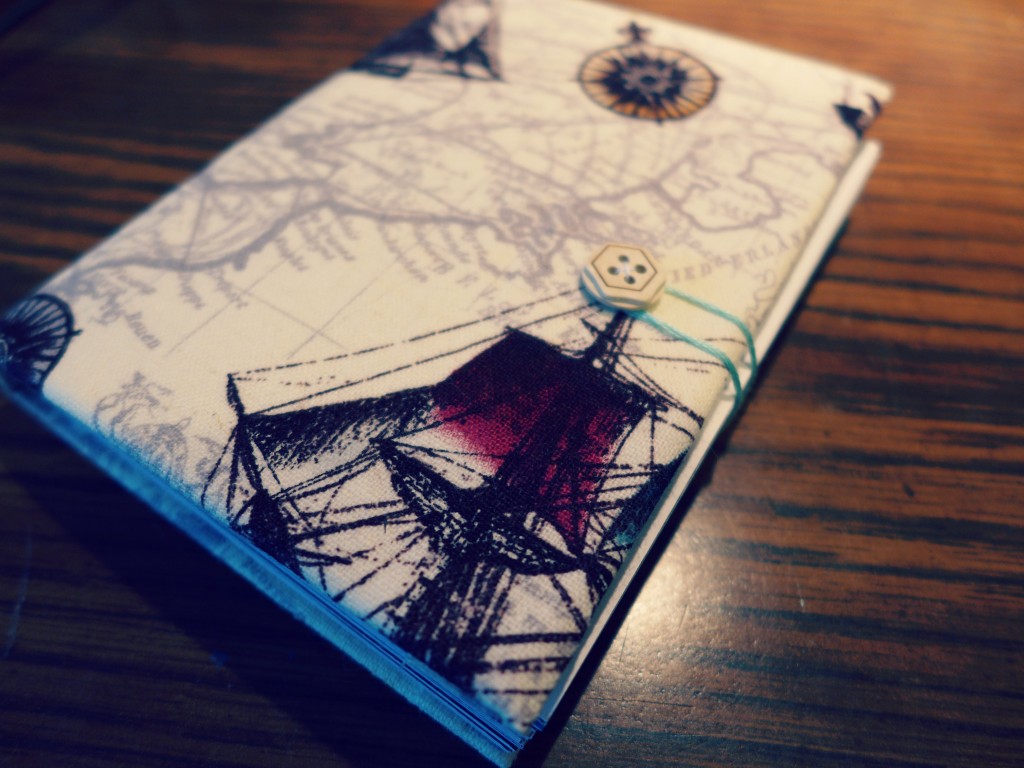
4. Cut a piece of fabric a little larger than the cover card stock.
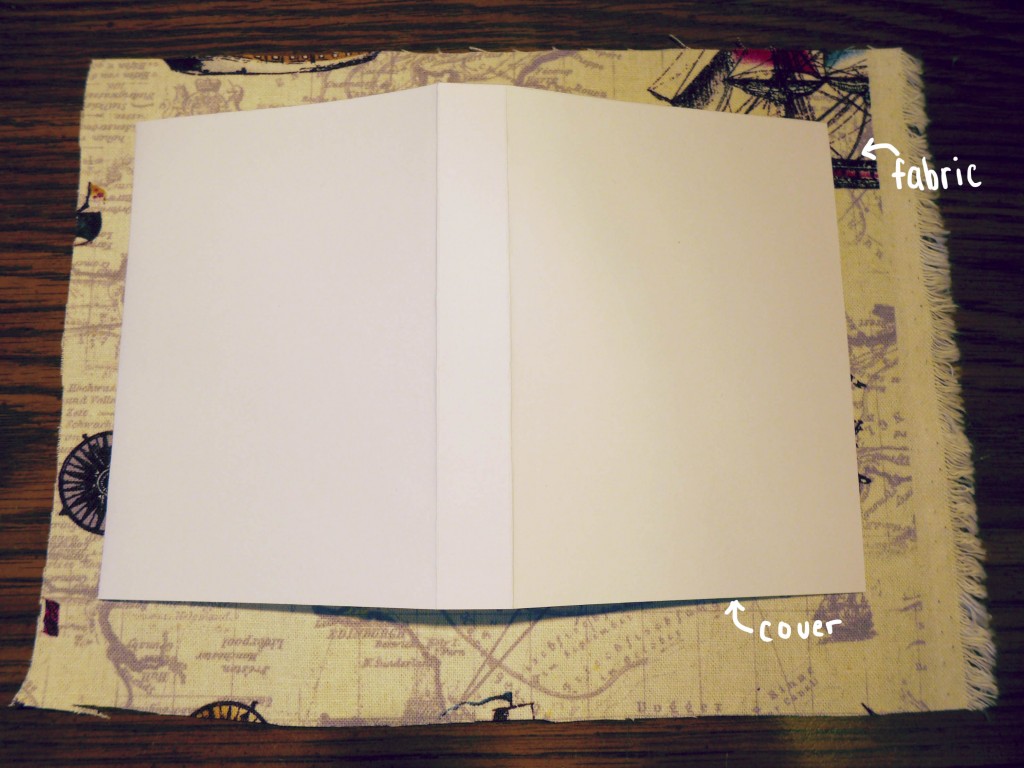
5. Using double-sided foam tape, glue the fabric to the card stock. If you don’t have double-sided foam tape, it is suggested that you cut a piece of cardboard for the cover instead, so that the cover is nice and stiff.

6. Fold the extra bit of fabric on the edges onto the other side of the card stock. Glue the edges down.
7. (Optional) Sew a button onto the front of the cover. Attach a piece of looped string or ribbon long enough to reach from the back of the cover to the button.
The Assembly
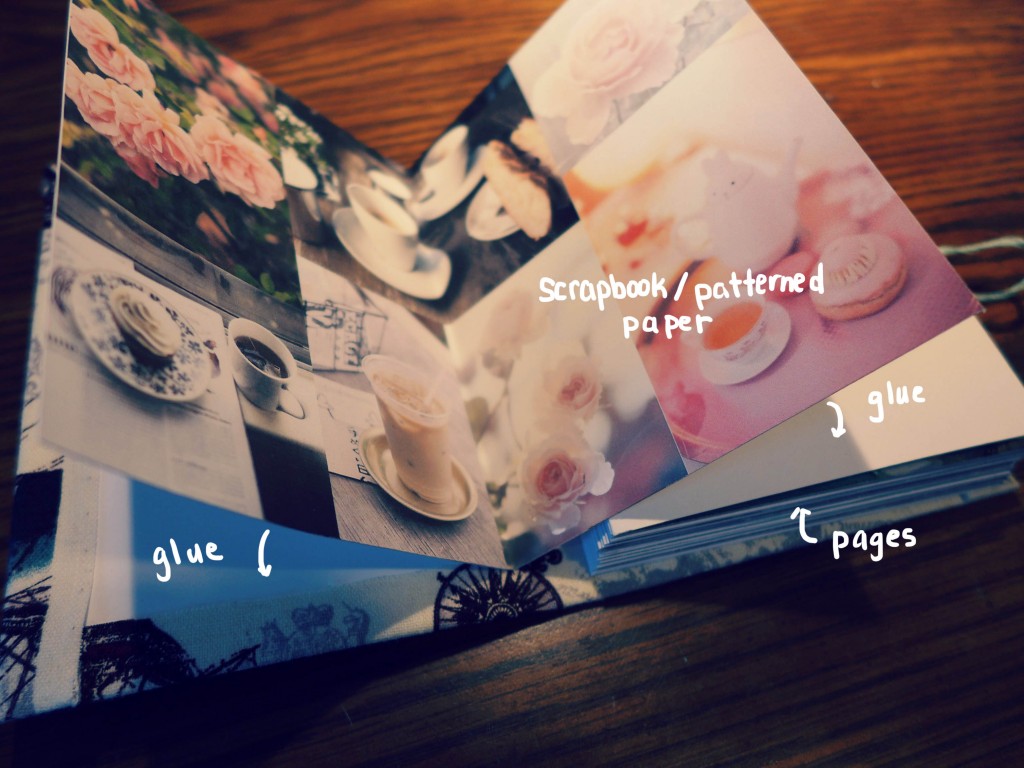
1. Cut two pieces of scrapbook paper with the same size as the page spreads. These two pages will be used for attaching the core of the book to the cover.
2. Centre the book pages on the spine of the cover. Glue one side of the scrapbook paper to the book pages, and the other side to the cover. Repeat for the back cover.
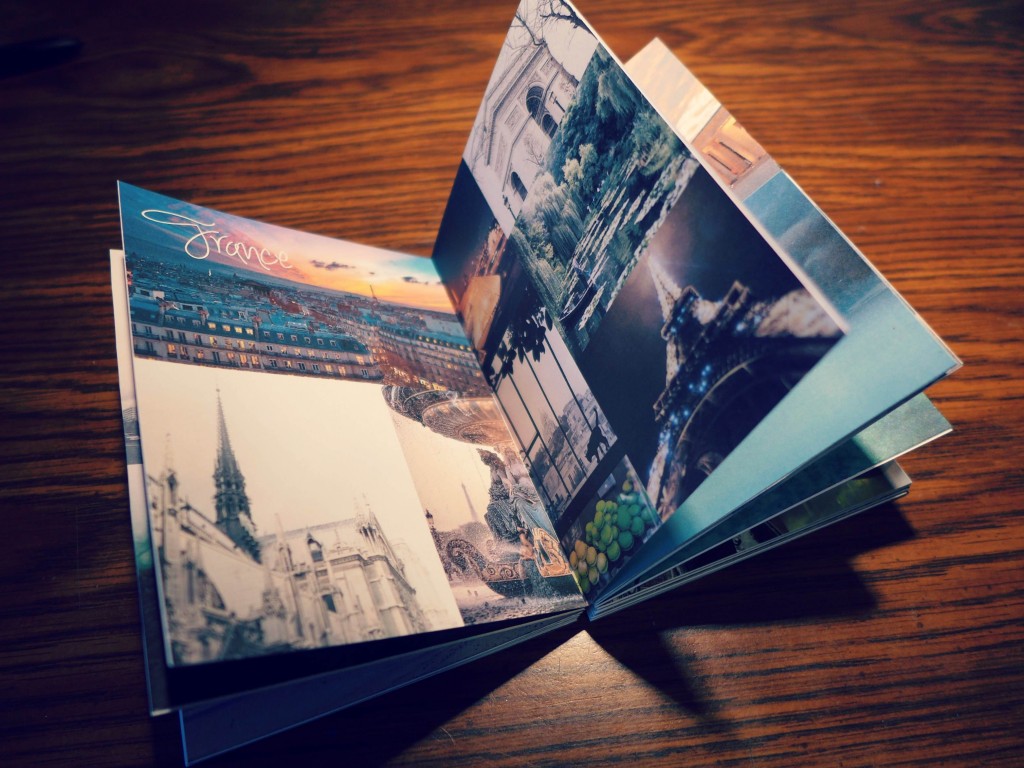
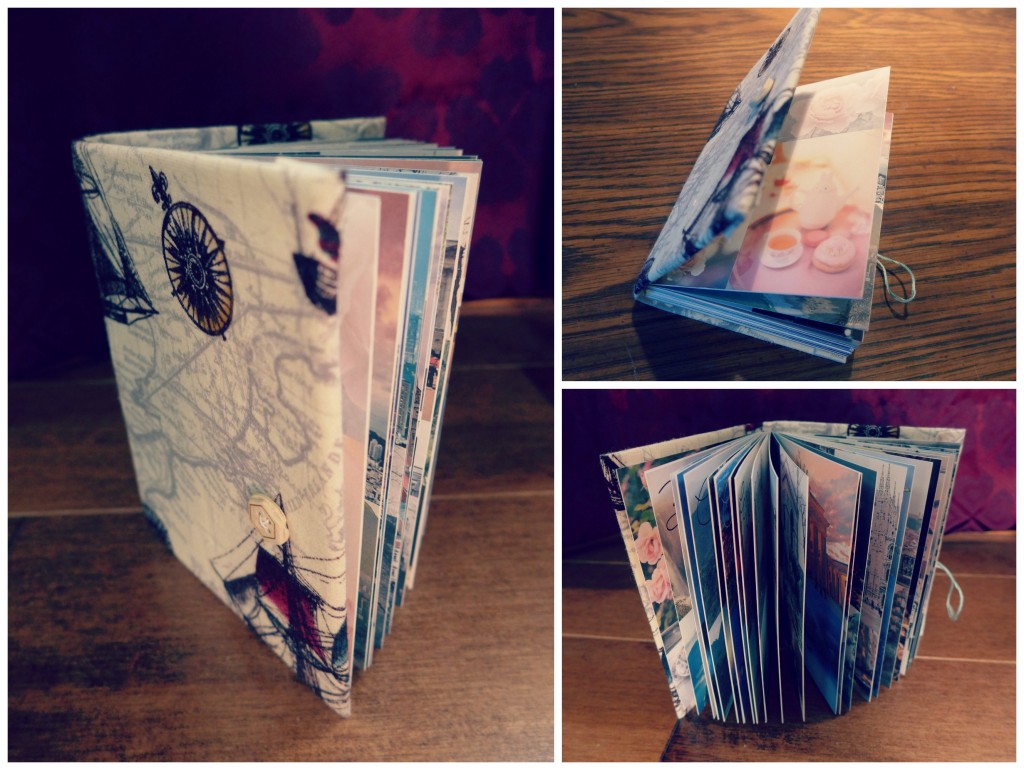
The Final Product Violà! Your own little book of memorabilia is finished!
Photograph and instruction credit: elena
I hope you enjoyed my DIY! If you have any questions or comments, please leave them down below. Don’t forget to check out other DIY projects here!